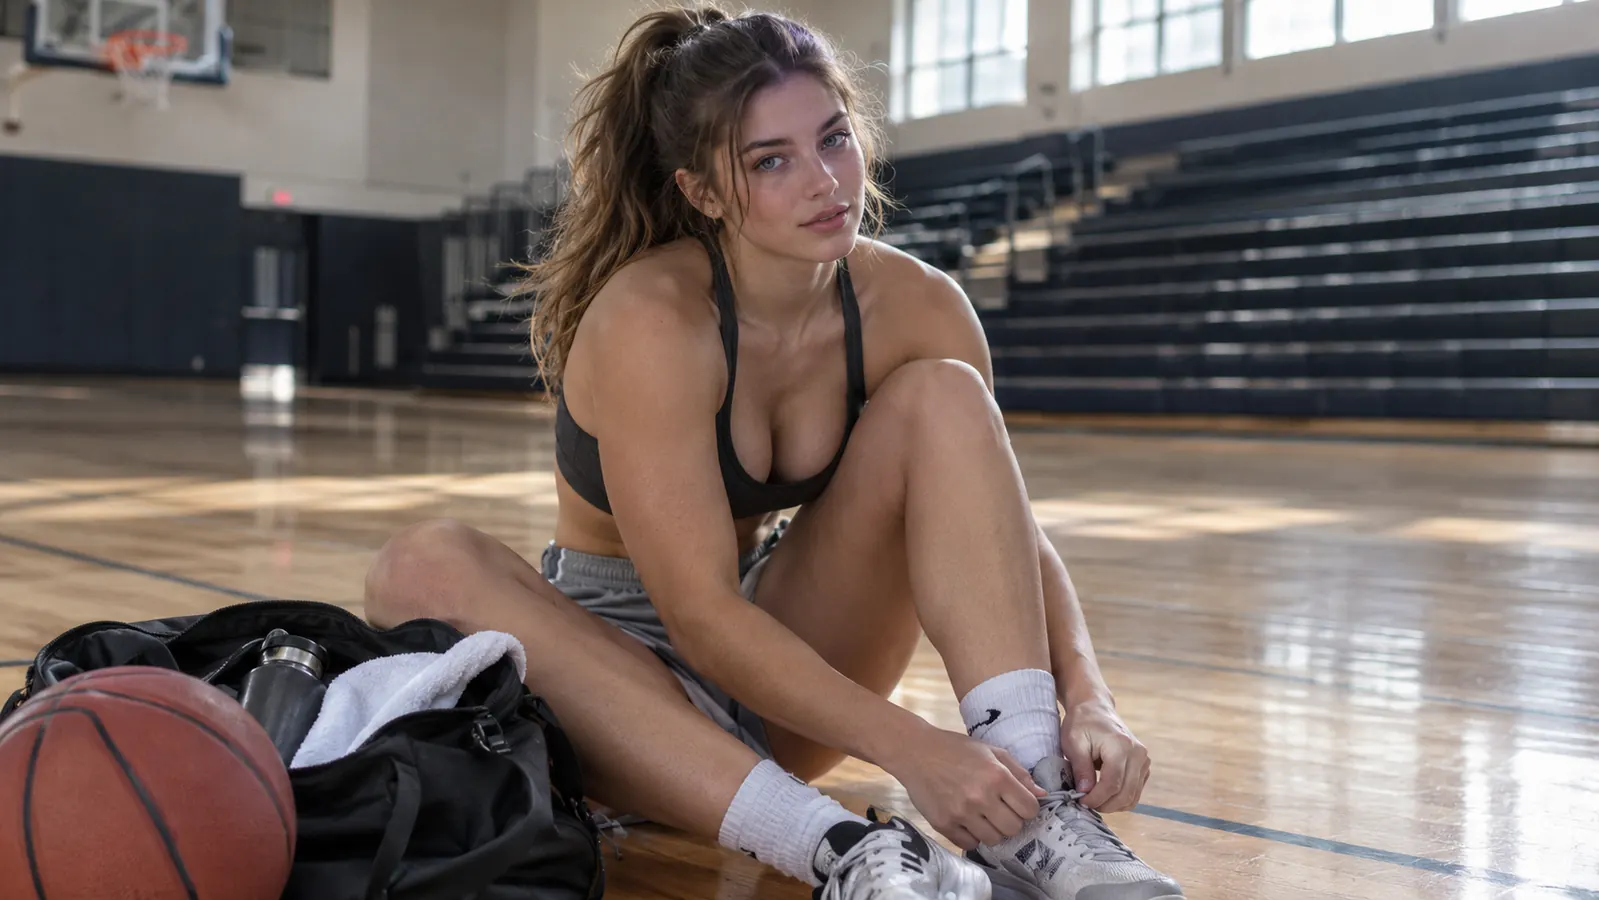
Four games into a Tuesday night run at the rec center, my forefoot would start talking to me. Not the heel, not the knee. The outer edge, right where the small toe meets the shoe, a hot little spot that turned into a bruise I could still feel two days later. I assumed that was just the cost of playing pickup at 47 with a slightly wide forefoot. It was not. It was the shoe.
About fourteen months ago, in September 2025, I moved into the FitVille Wide Basketball Shoes in the extra wide width for my Sunday morning men's league, where I play two games back to back in a church gym. The pinching stopped inside of two weeks. But here is the part that does not make it into a product description: the shoe was only half of it. The other half was the five steps below, and I would have gotten most of the way there in a standard-width pair too. Work through them in order before you spend anything.
If the Pinch Is Already There, Start With a Wider Last
The FitVille Wide Basketball Shoes are built on an extra wide platform with a high-top collar for ankle support, a foam insole and moderate to high cushioning. Mine are the pair I wear for two back-to-back men's league games every Sunday.
Amazon Check Today's Price on Amazon →Step 1: Measure Your Foot at Night, Not in the Morning
Feet swell. That alone is the reason this step comes first. If you trace your foot at 7 in the morning and buy a shoe sized to that outline, you have sized it for a foot that stops existing around lunchtime. By the fourth game of the night your foot is wider and longer than it was at breakfast, and the shoe did not grow with it.
Do the measuring at night, after you have been on your feet. Stand on a sheet of paper in socks, put your weight down, and mark the widest point across the ball of your foot and the tip of your longest toe. Then pull the insole out of the shoe you actually played in and stand on that. What you are hunting for is overhang. Any part of your foot hanging past the edge of the insole means the upper is pushing back against that spot all night.
Where the sore spot sits tells you what you are fixing. Outer edge, near the joint of the small toe, that is width. Across the top of the foot, that is lace pressure and you can fix it in an afternoon. Underneath the ball of the foot, that is cushioning and insole volume. My own numbers: men's 11.5, and the ball of my foot hangs a good quarter inch past the insole on every standard-width shoe I own. A quarter inch is nothing on a ruler. On a hard cut it is everything.
One caution on the paper test. It measures length and width, not volume. Two feet the same width can have very different insteps, and a high instep will make even a wide shoe feel tight across the top. If the top of your foot is the sore spot, skip ahead to step two and come back.
Step 2: Re-Lace So the Outside Edge Can Spread
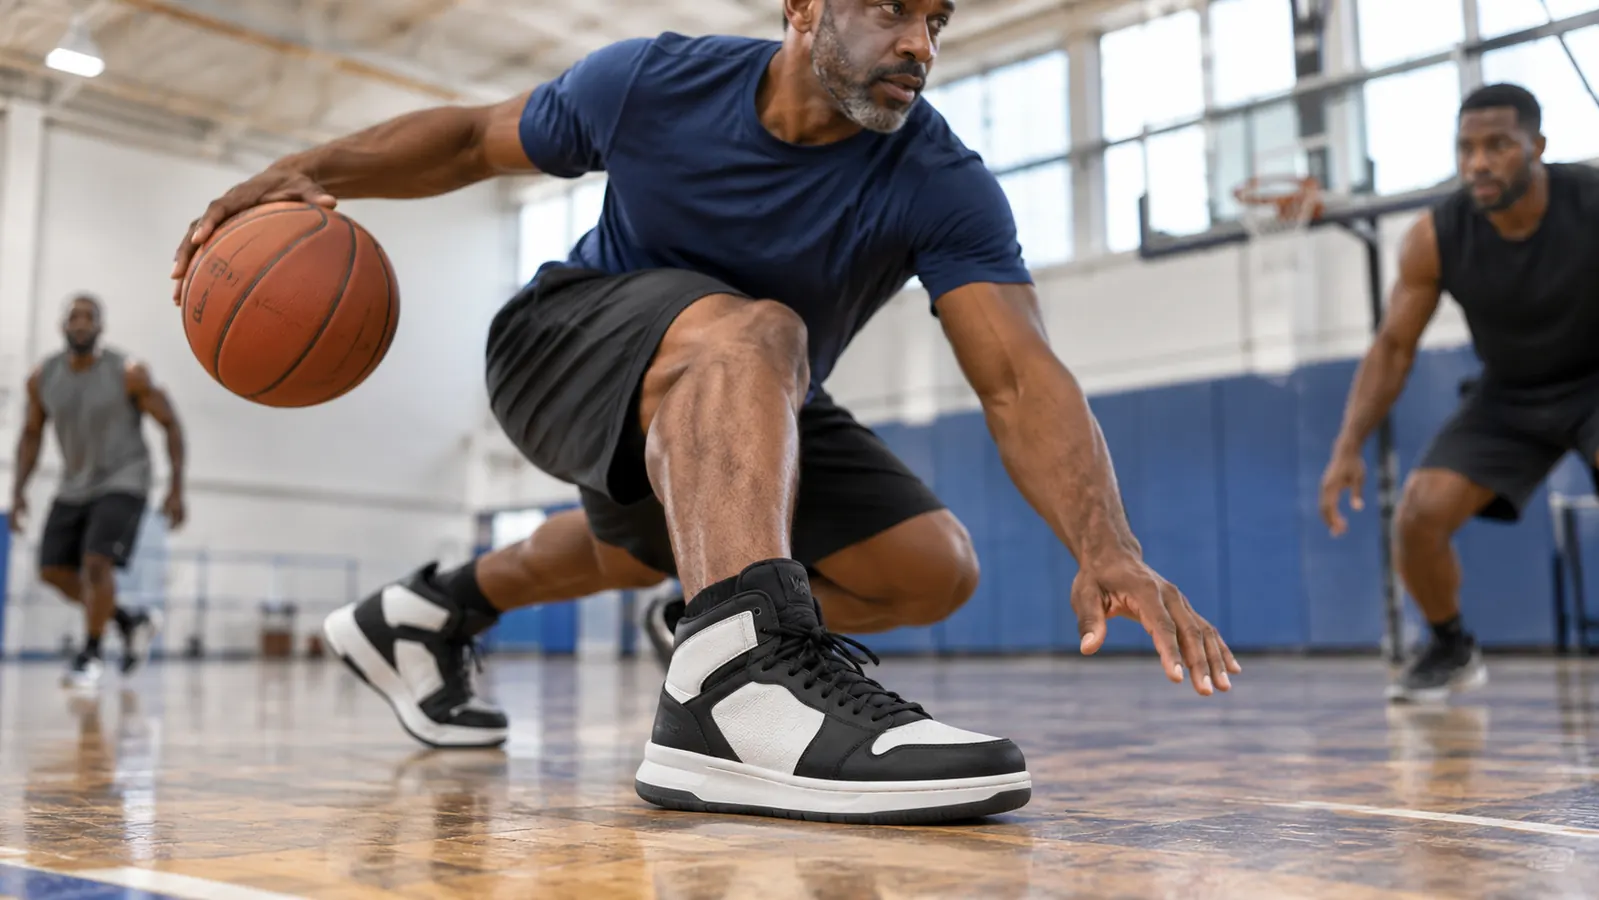
Laces are the cheapest fix in this article and the one most people skip. The way a shoe comes laced from the factory pulls the two sides of the upper straight toward each other. On a foot that is already at the limit, that pull is the difference between snug and pinched. Relace straight across, bar after bar, instead of crisscrossing. It spreads the pressure over more of the upper and stops the eyelets from hauling the sides inward.
Second move: skip the lowest eyelet row and start one row up. That gives the bottom of the shoe room to open where your forefoot actually sits. You give up a little lockdown at the toe, which matters on hard cuts, so test it in a shooting session before you take it into a game.
Third move, and the one that saved my Sunday games: leave the top eyelet loose. I tie off one row down and keep the top of the collar relaxed. It costs almost nothing in stability because the collar is doing the holding, and it takes the downward pressure off the top of the forefoot. I also re-tie at the first timeout of the second game. Twenty seconds of work and my foot stops sliding forward.
None of this buys you width that is not there. Re-lacing moves pressure around, it does not create room. If the upper is a half inch too narrow at the ball of the foot, no lace pattern closes that gap, and you will feel it again by the second game.
A quarter inch of missing width on the outside of a shoe is the difference between a cut you make and a cut you think about making.
Step 3: Break the Upper In Before You Judge the Fit
Every shoe has a break-in, whether the box says so or not. The upper has to crease where your foot flexes and the collar has to soften into the shape of your ankle. That takes time on the floor, not time in the box. Judging a pair in the first ten minutes is how people return a shoe that would have been fine in two weeks, or keep one that will never work.
Do not put them in the oven and do not soak them. I have watched guys try both, and what you get is softened glue and a strange smell. Wear them instead. Forty-five minutes of shooting and defensive slides, twice a week, done before you play a real game, beats any shortcut. My FitVille pair took about two weeks before the collar stopped feeling like a stiff cuff across the front of my ankle.
That window is also when you find out whether the fit is actually going to work. Sore in one spot, sore like a bruise you keep noticing, that means the width is wrong and no amount of breaking in will fix it. Sore all over like a new work boot, that is normal and it fades.
I keep two lines on my phone for every new pair: date bought, and where it was sore. After three pairs you can look back and see whether the problem is the shoe or your foot. That is worth more than any review you will read, this one included.
Step 4: Clear the Volume Inside the Shoe
Sometimes the shoe fits and the stuff inside it does not. Three things eat forefoot room, and all three are easy to change. First, socks. Thick cushioned socks in a shoe that is already at the limit will squeeze you. Try a thinner sock before you blame the shoe.
Second, insoles. If you add an arch support or an orthotic on top of the factory insole, you have added thickness, and thickness pushes your foot up into the upper. Take the factory insole out first and put your insert into the empty shoe. My FitVille pair came with a foam insole and moderate to high cushioning, and I left that in place for men's league games.
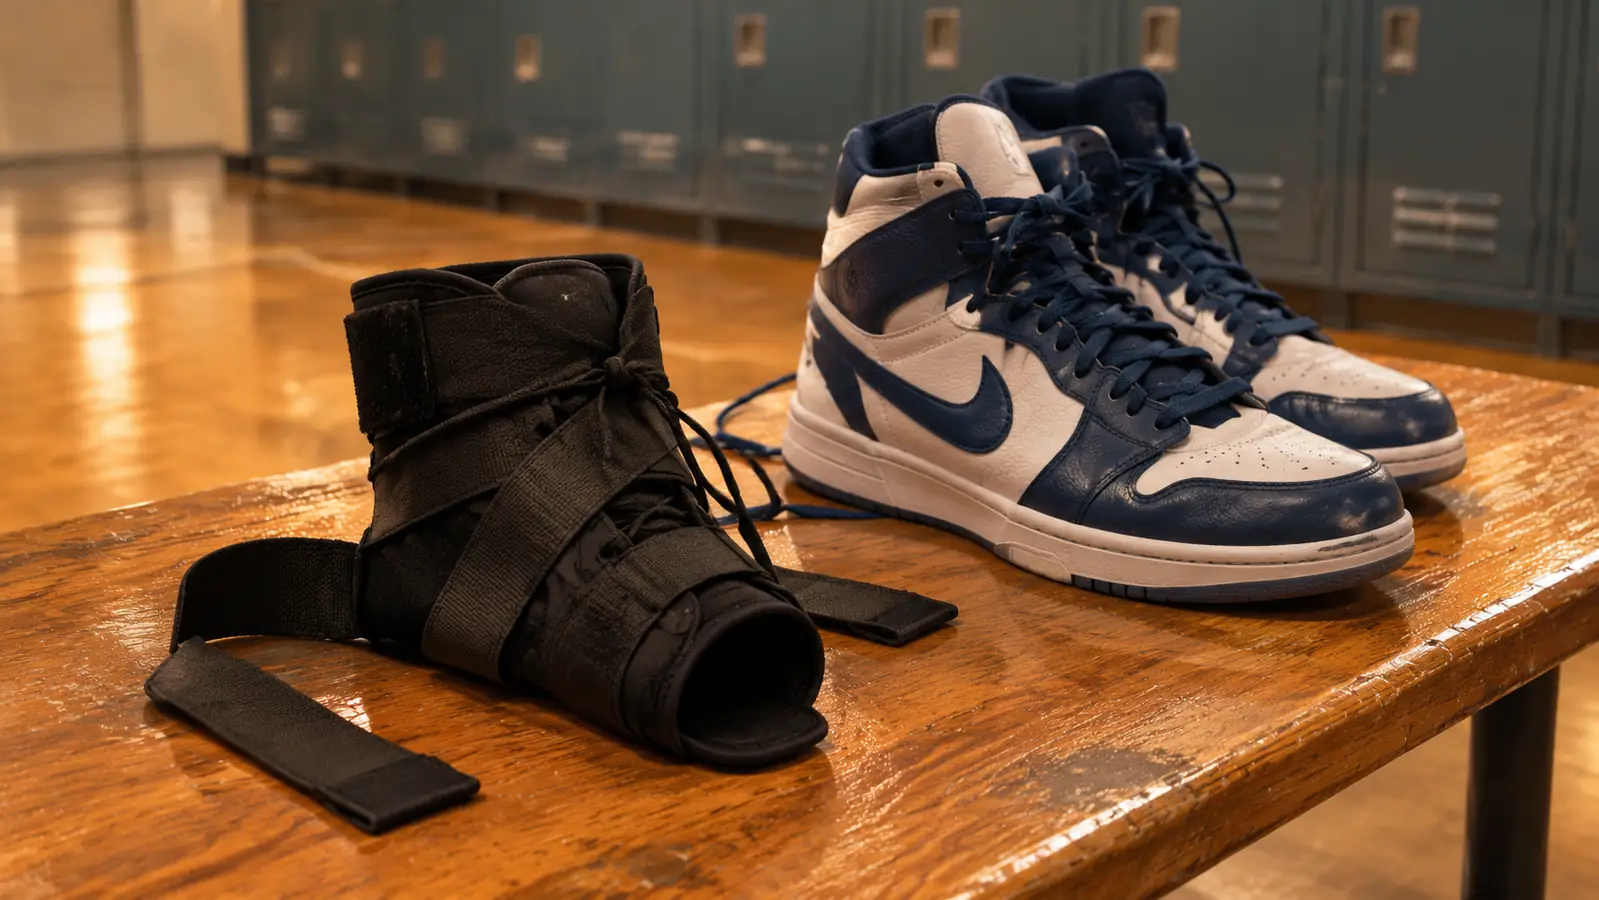
Third, and this one is personal: a lace-up ankle brace takes up real volume. I rolled my left ankle about ten years ago and I have worn a McDavid lace-up brace on that side in every game since, and I am not changing that. But the padding sits over the instep and nudges the foot forward and down, and in a narrow shoe that is exactly the pressure that makes a forefoot ache. Going extra wide was as much about the brace as about my foot.
Step 5: Move to a Shoe Built on a Wide Last
If you have done the first four steps and the outer edge is still hot, the shoe is the problem and no lacing pattern will save it. A standard-width upper is built on a standard-width last. If your foot is wider than that last, you are wearing a shoe that fights you for forty minutes.
The FitVille Wide Basketball Shoes are built for this. They come in an extra wide width, they are a high-top with ankle support, they close with laces, and they have a foam insole with moderate to high cushioning. The listing designates them for men with flat feet, which matches the low, wide profile of my own foot. That is the whole feature list. There is no app, no dial, nothing to charge.
In use, the difference is not dramatic. It is quiet. Two men's league games back to back, close to forty minutes of running each, and my toes spread out when I land instead of jamming into each other. I do not think about my foot at all in the fourth quarter, which is the highest compliment I can pay a shoe. Fourteen months of Sundays and the pair is still in rotation, still holding its shape, not worn through.
The cons are real. The high-top collar felt like a cuff for the first couple of weeks and needed a proper break-in. The wide platform means that if you do not lace the midfoot down firmly, your foot will slide inside on hard stops, so it is not a shoe you can slip on loose. And it is not water resistant, which matters not at all in a church gym and a lot if you take it to a wet outdoor court. I keep a different pair for the park.
What Else Helps
Trim your toenails before you play. It sounds obvious and it is the difference between a long toe and a bruise. Rotate your shoes if you can. Foam needs a day to come back, and a shoe worn five nights a week packs out at the forefoot twice as fast as one worn twice. Mine run on a fixed schedule: Under Armour Lockdown 7 on Tuesday, adidas Own the Game 3.0 on Thursday, FitVille on Sunday, with the Nike LeBron Witness 8 as the spare and the summer park shoe.
Wipe your soles. A dusty rec floor, and mine is dusty by the second game, kills traction and lets your foot slide forward inside the shoe on every stop. A damp towel on the bench takes five seconds. And if you are thinking about sizing up to chase width, do not. Adding length to solve a width problem gives you a shoe that is long, still narrow, and now has your heel sliding out of it.
One more: give each shoe a job. The FitVille pair is my men's league shoe, two back-to-back games, and that is what it is built for. If you want one pair for indoor games, outdoor asphalt and the gym, you will compromise the forefoot fit somewhere. Two pairs, even cheap ones, keeps both of them intact longer.
If I were standing in your gym bag right now, here is what I would say. Measure at night. Re-lace before you give up on a pair. Break it in for two weeks of shooting sessions. Clear out the extra volume from socks, inserts and braces. Then, and only then, go buy a wider shoe, and go extra wide rather than standard width in a bigger size. That last part took me years and cost me a lot of sore mornings.
For a Forefoot That Has Been Squeezed for Years, Start Wide
Extra wide platform, high-top ankle support, foam insole and moderate to high cushioning. It is the pair I keep going back to for back-to-back games.
Amazon Check Today's Price on Amazon →